How to get more contracting jobs by treating damp walls
September 28, 2026How to install an electromagnetic rising damp treatment system
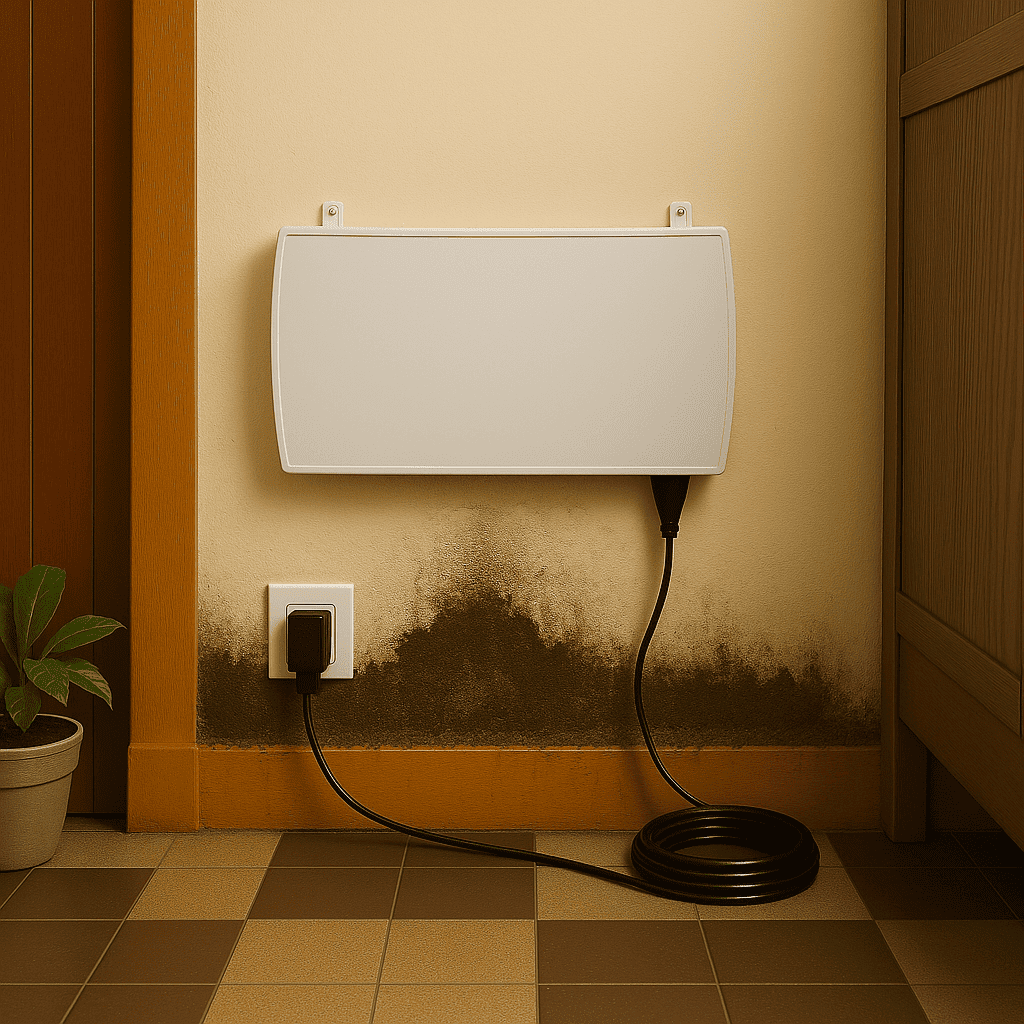
Peeling paint, salt deposits and damaged plaster can indicate damp in your walls. Before installing a treatment system, identify where the moisture is coming from. Humidistop explains how to prepare for installation.
Identify the cause of damp
Rising damp occurs when groundwater moves upwards through porous masonry. Leaks, penetrating damp and condensation require appropriate repairs or treatment. If the cause is unclear, arrange a professional assessment.
Choose the system and its location
Check the technical specifications to select a model with a coverage area suited to your building. Its position should allow the affected walls to fall within the stated operating range.
A location near the centre of the treatment area may be suitable, provided it meets the manufacturer’s installation requirements.
Follow the installation instructions
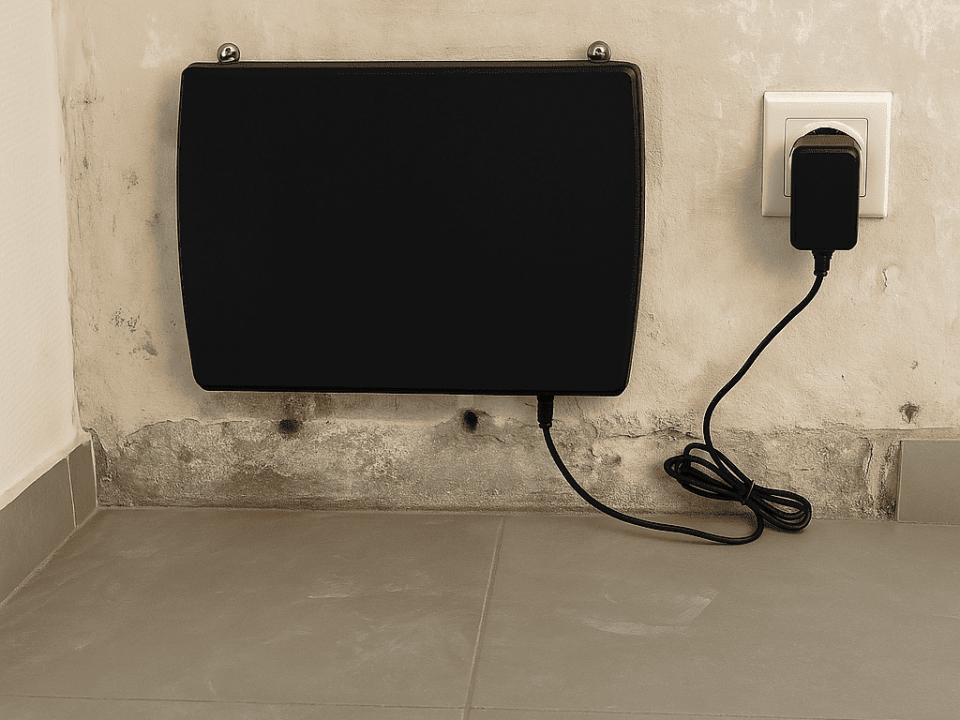
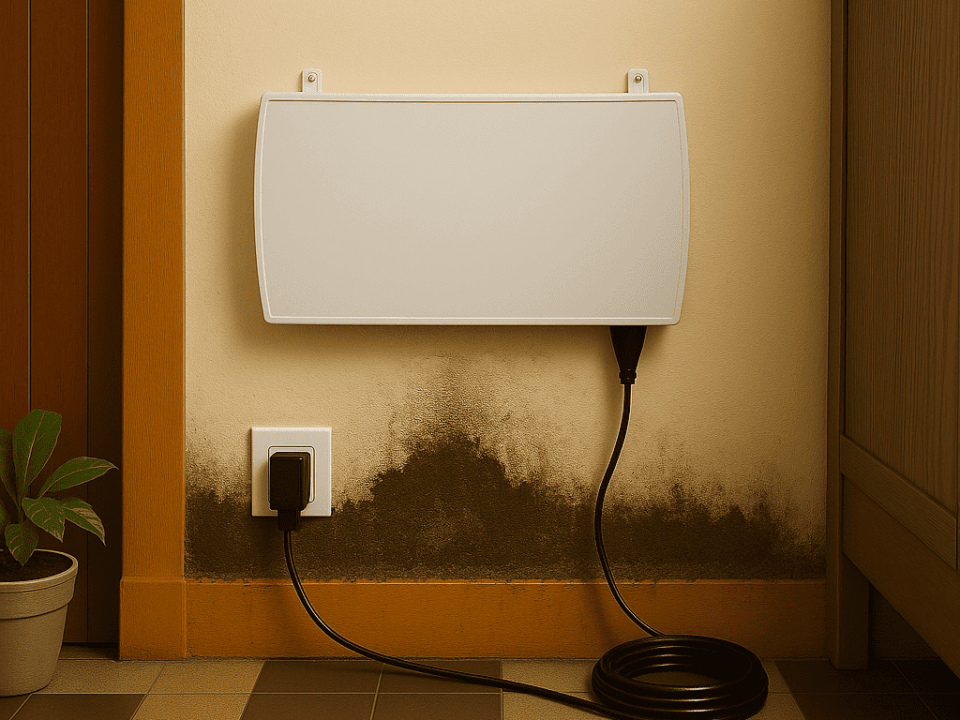
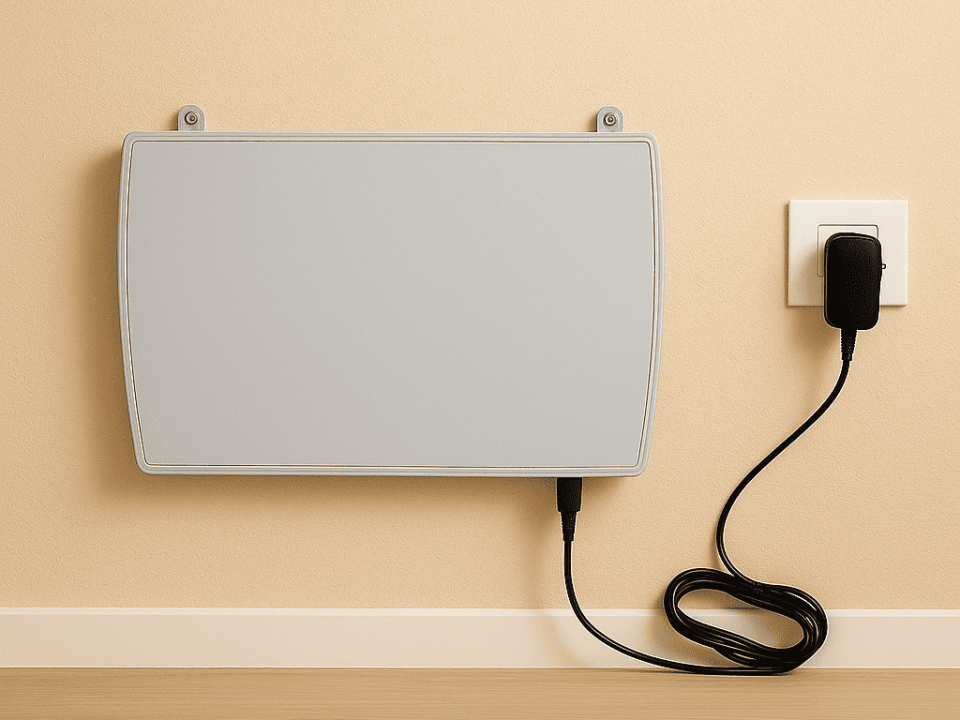
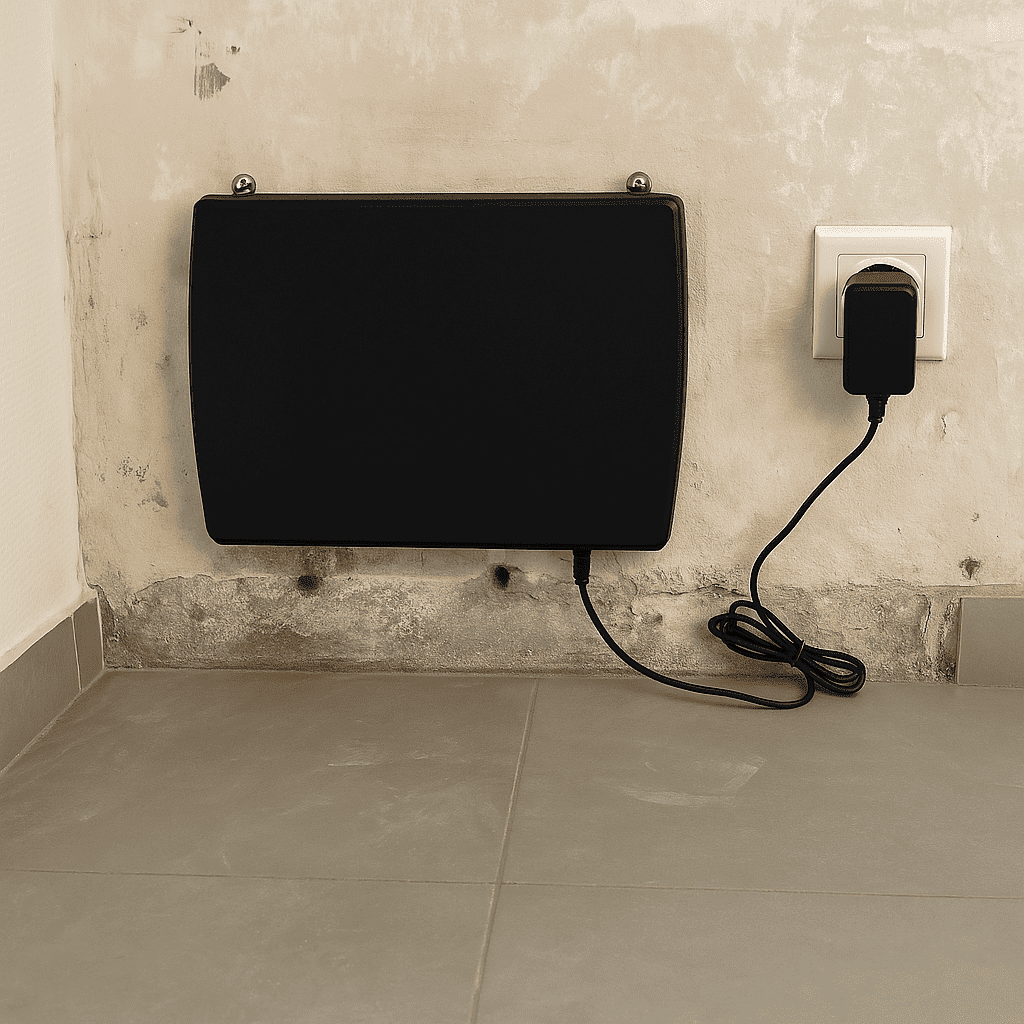
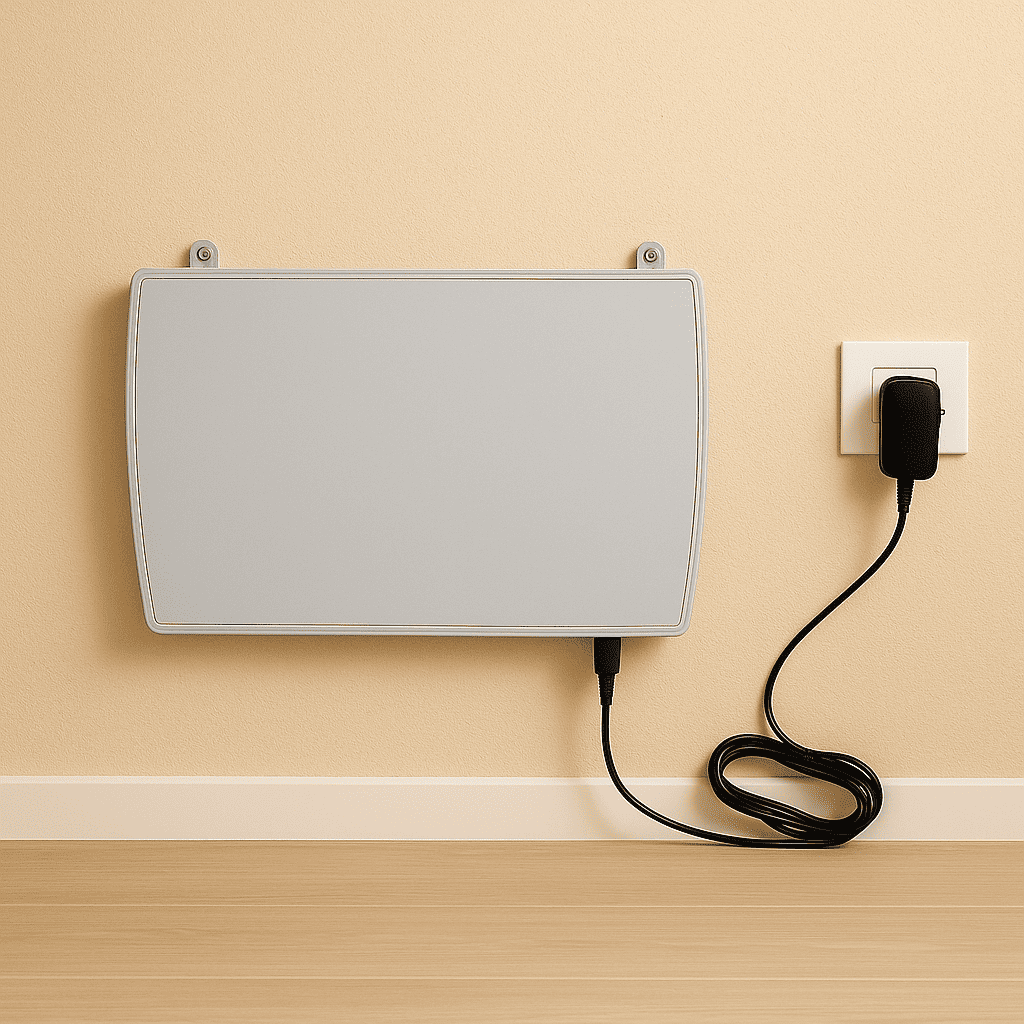
Refer to the manual for mounting height, fixings and required clearances. Use fixings suitable for the wall and, where electrical power is required, follow the specified connection instructions.
Installation requirements can vary between models, so always use the manual supplied with your device.
Support the wall drying process
Wall drying takes time. The rate depends on the masonry, wall thickness, moisture levels and ventilation.
Maintain adequate air exchange and follow the technical recommendations before removing or replacing plaster and paint. Redecorating while walls remain damp can lead to further damage.
Monitor changes over time
Photographs can help record visible changes. Suitable moisture measurements, taken under comparable conditions, provide a more useful basis for assessing progress.
Prepare your installation with Humidistop
Consult Humidistop’s product specifications and installation guidance to choose a suitable system and plan its position.